Today we were given a 3D head rig, So we could have a quick go at Lip-syncing, So when I got back to the flat, I synced the head to the chorus of a song. Enjoy.
Monday, 23 January 2012

Tuesday, 17 January 2012
It's ALIVE!!
Had a stop-motion workshop today. Used rather basic armatures, but as we were only learning the basics, they were good enough. Some of the joints were a little bit stiff, and the clothes weren't starched, which makes it incredibly difficult to avoid creating crawl (when the clothes appear to move by themselves, because the folds in the material move when you manipulate the puppet) We just made the models bend over and touch their toes, but you need to think a lot about which joints and the order in which you break the joints (breaking joints is how certain parts of your Bordy start moving before others, for example in this instant the head bends first, followed by the arms, and then the waist etc.)
Wednesday, 11 January 2012
Life Drawing in 2012
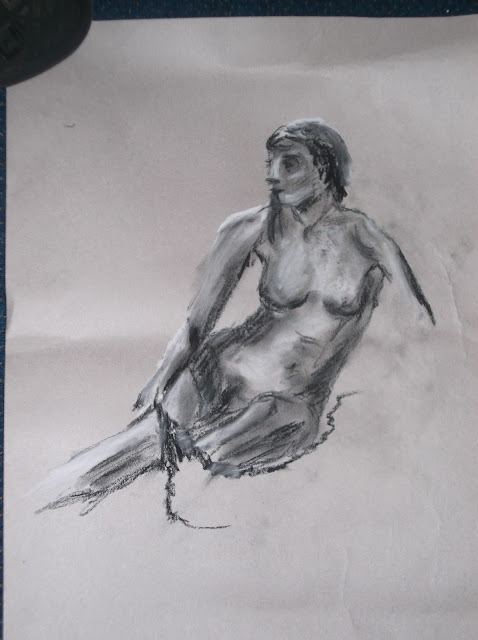
First life-drawing of 2012 today :] We had a younger female woman this time. There were many short poses, which I find difficult, and we began using watered down ink, which I find very difficult to use, especially with the thick brushes provided. I used pencil and charcoal to attempt the really short thumbnail poses, but I just could draw quick enough. I find small and quick are both difficult for me to manage. We also had to draw for a minute or two while the model moved around in slow fluid movements. I drew the area where she stood first so I could identify where to put her on the paper quicker. It was very odd, and although it ended up looking rather like a mess of scribbles, you could make out figure like shapes. At the end we got to do a 10 minute pose, which was my favourite. I chose charcoal and chalk on mid tone paper, which meant I could finally add in lighter tone and focus on the lighting, which I really enjoy. She was standing in front of the spotlight, creating a nice Rim Light effect which was cool. It went well, though I didn't get her left arm drawn as she slipped towards the end of the pose, which changed the angle when she sat back up, causing a problem. Here's the pictures :




Monday, 9 January 2012
Point Light
Quickly before i drop off to bed, i threw a point light around in my scene to experiment :]
3 Point lighting
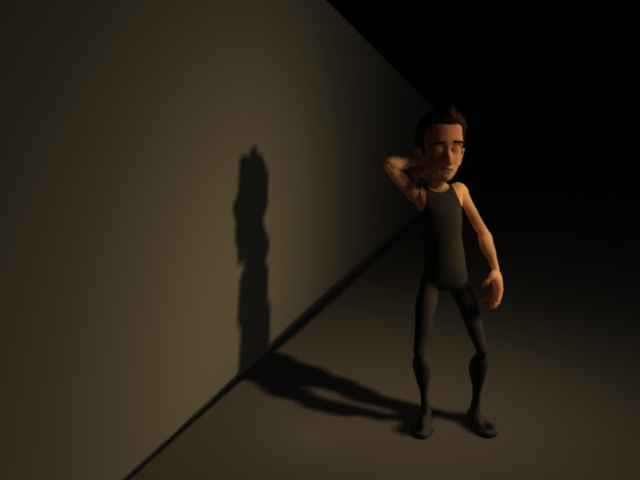
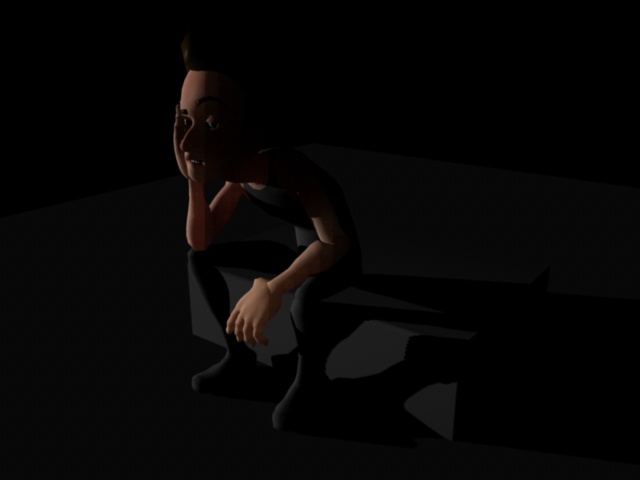
Okay now i keep messing up the setting with 3 lights and either severely pixelating the shadows, or just over shooting the light. But its looking kinda better now. This is once again using directional lights, one for the Key light (the brightest one), one for the bounce back, and a third behind the character to create a rim light, which brings out the edge of the character.




2 Point Lighting :]
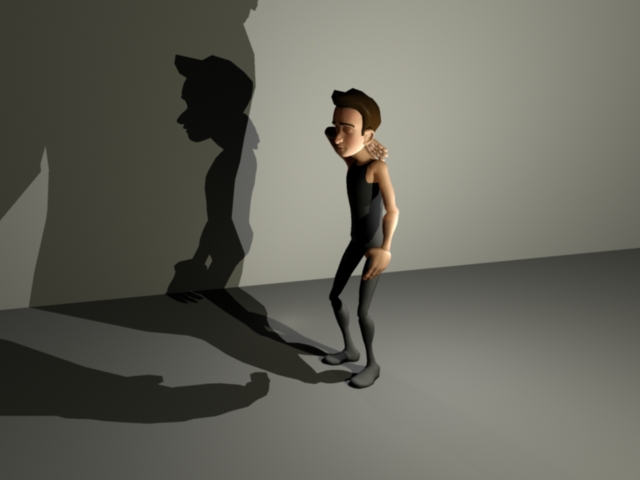
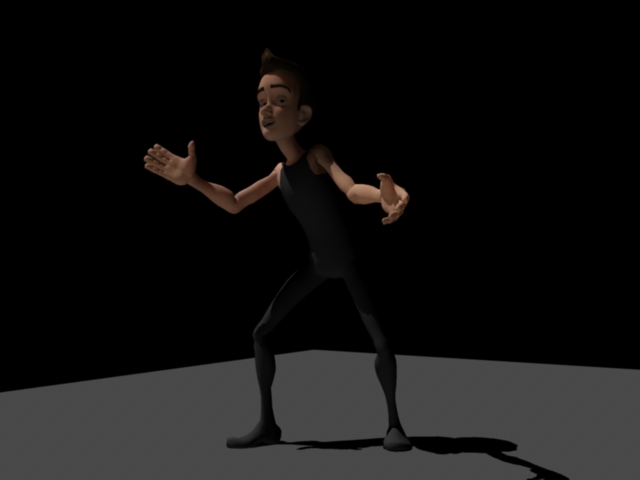
2 point lighting now, looks much more natural. 2 point lighting is what it sounds like, using two lights, coming from different points. In computer programs, light doesn't bounce like in real life, as the way light works in life is incredibly complex. so to make a light "bounce off something" you need two lights, one for the original one, and a weaker on to create the light that has bounced off. So this is what I have done, once again using directional lights only. Enjoy!



Let there be light...
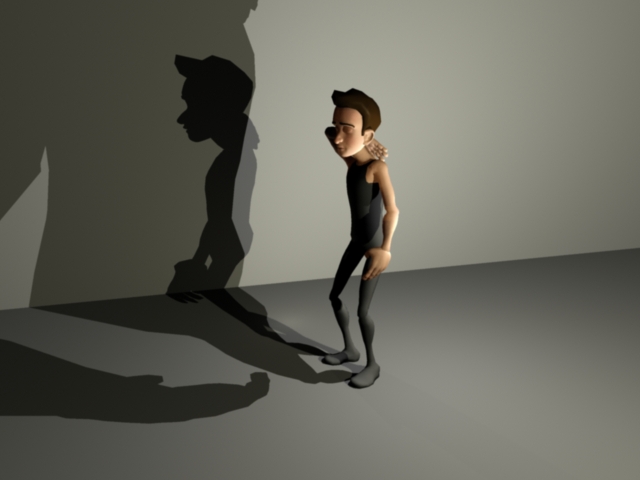
So, first post of the new year :] Happy 2012 peoples. Had my first lecture of the term today, digital animation, mostly about lighting. So I'm going to get a book from the library and look into I, as I have kinda liked messing with lights since my chiaroscuro project at A2. So I downloaded the Morpheus rig, and threw together a quick pose to attempt one point lighting on. I used a directional light, and made it the only light, and gave it a pretty high intensity, and I'm quite happy with it. More to come :]



Subscribe to:
Posts (Atom)